A few months ago I made a short video from photos I had taken of my shop. I had been asked by a couple people to do a shop tour video and I thought at the time that it would fit the bill... well I was wrong. So I actually recorded a short video showing off some of the different aspects of my shop. I've posted both of them here just in case you want to watch and compare them both. I hope you enjoy!
So lately I haven't had the free time to take on any big projects. I was able to get a great deal on lathe so I had to move a couple things around to make room for that. With that I needed a storage idea for the tools. I also need to move my WorkSharp 3000 to prepare a space for my next shop upgrade. Now what I should have been doing was filming these projects because just as all this was going on a good number of other woodworkers came together to do the Scrap Bin Challenge. Steve Carmichael has put together a playlist of all the submitted videos so far.
Its really cool to see some of the projects these people have put together with nothing more than some scraps laying around the shop. Now even though I didn't make a video I still wanted to share a little about what I try to do with my scraps. I think we can all agree that it is easy to let our scrap bin collection get a little out of hand. I also have a touch of OCD... so I try and let them work together. Whenever something needs a home I go straight to my scrap bin(s) and see what I can come up with. So here is a couple pictures of some of my recent shop projects built completely with scraps.
Sharpening Station
Drill Charging Station
Lathe Chisel/Gouge Rack
Drill Press Shelf and Forstner Bit Holder
Lathe Accessory Rack
I'm sure you get the picture... get it... picture. Anyways, pretty much everything from my clamp racks to my TV wall mount was made out of scrap wood. So I hope you go and check out some of those videos and then get out there and build something. I'd love to hear about your method of dealing with this ever growing issue of scraps. Please don't let some poor piece of scrap wood go to waste.
Part of my kitchen remodel is replacing the upper cabinets. I had previously made the cabinet that was part of the fridge surround and these three upper cabinets would be attached to that. Here are the steps I took to make that cabinets and some pictures of the process. At the end of this blog I have posted the video I made detailing the construction of these cabinets.
To start off the project I drew up the three kitchen cabinets in SketchUp so I could figure out how much material I was going to need and to get a good visualization for the project. SketchUp is a great FREE resource that really helps me with my projects something small to an entire kitchen remodel. There are plenty of free online resources to help you learn the program also. I learned to use the program from watching Jay's Custom Creations videos on SketchUP.
Now when we were looking at the design of the cabinets it was to make the most use of available space in the kitchen. Our kitchen has an open floor plan and because of that there is a shortage of storage. The cabinets that were put in the house when it was built had 12 inches of wasted space above them. That is 7 cubic feet of storage space that wasn't being taken advantage. I also made the cabinets about an inch deeper so that our microwave didn't stick out so much and looked more like it was designed for that space. The greatest thing about designing and building for your own house or finding someone to custom build them for you is that it actually can fulfill a need or a want. You don't have to settle for a box made of particle board.
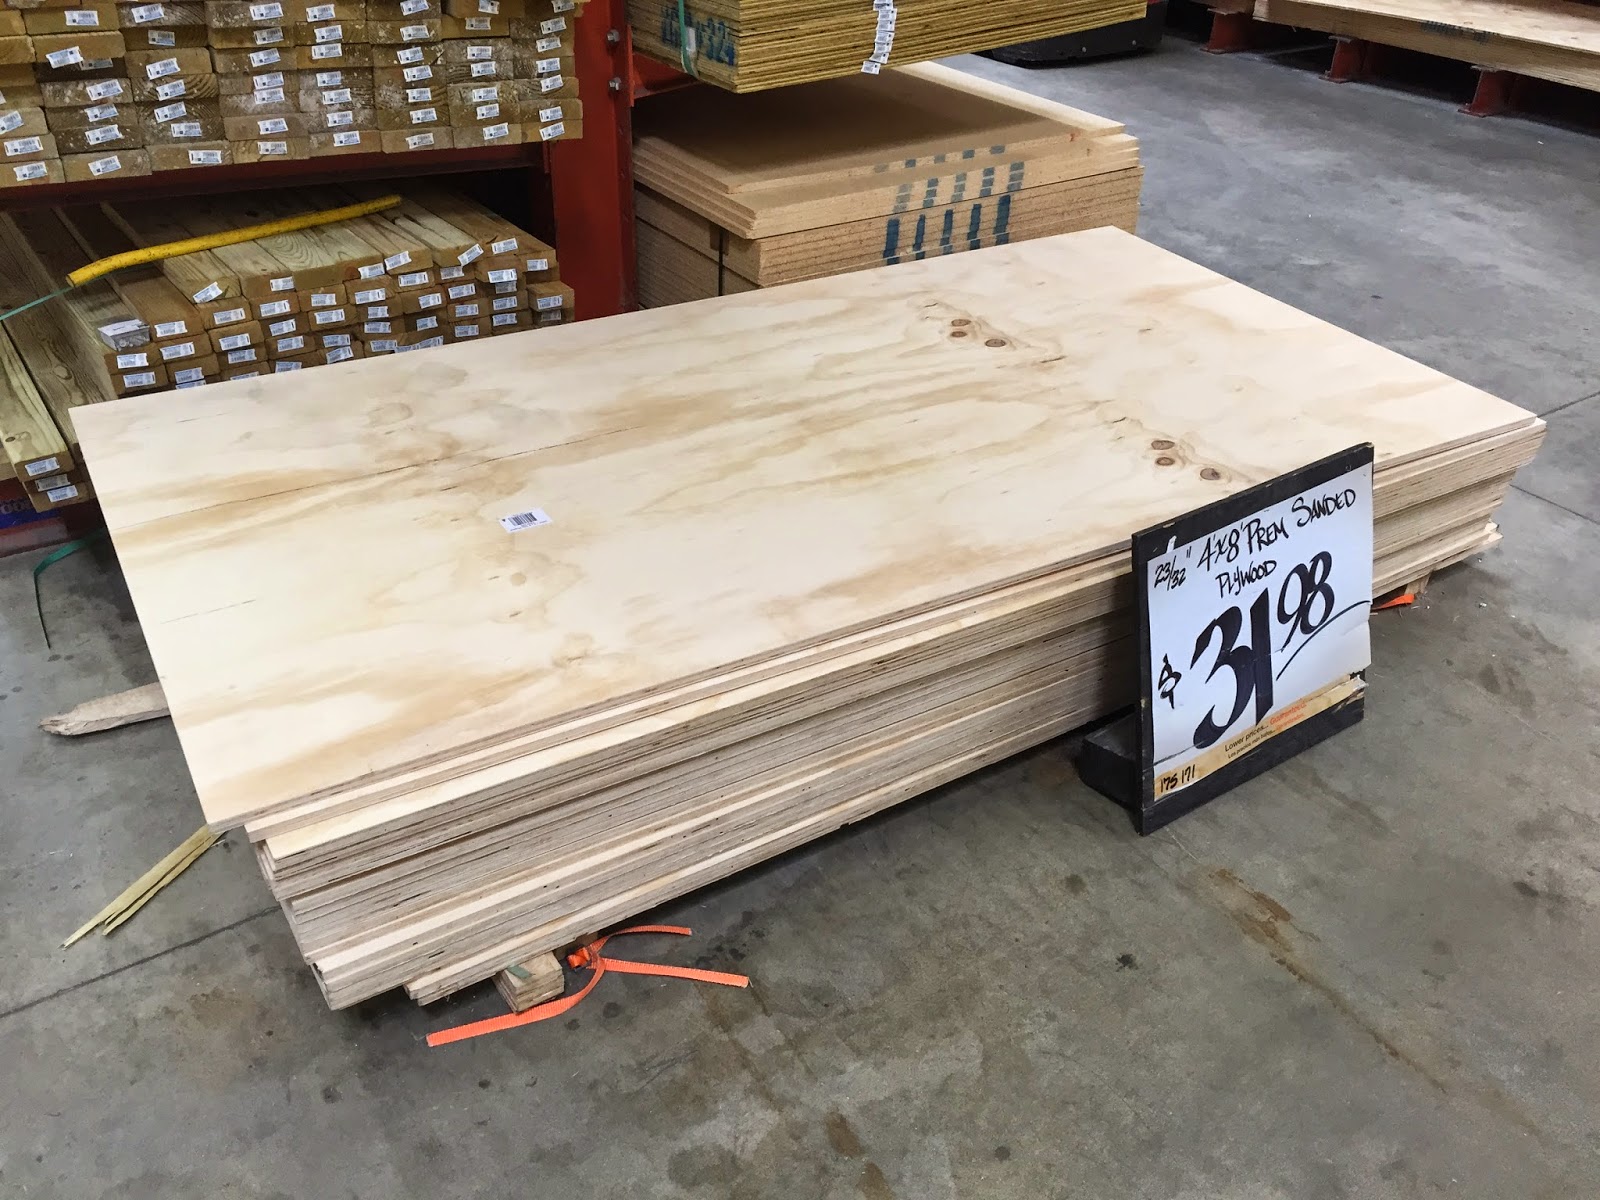
There is plenty of different options to build with and if particle board is your thing that by all means go with it. I am building these cabinets in a kind of country kitchen style so we had already decided to paint them white. I am building these cabinets out of 3/4 inch pine plywood with a pine face frame. So now that I had picked out my material I needed to figure out how much to by. I use the Sketch up drawing to figure out how much lumber I need to purchase. I do use a program to help me figure out my layouts for my sheet goods. I don't mind having extra because I know I will find a good use for it but I'm always concerned about not get enough.
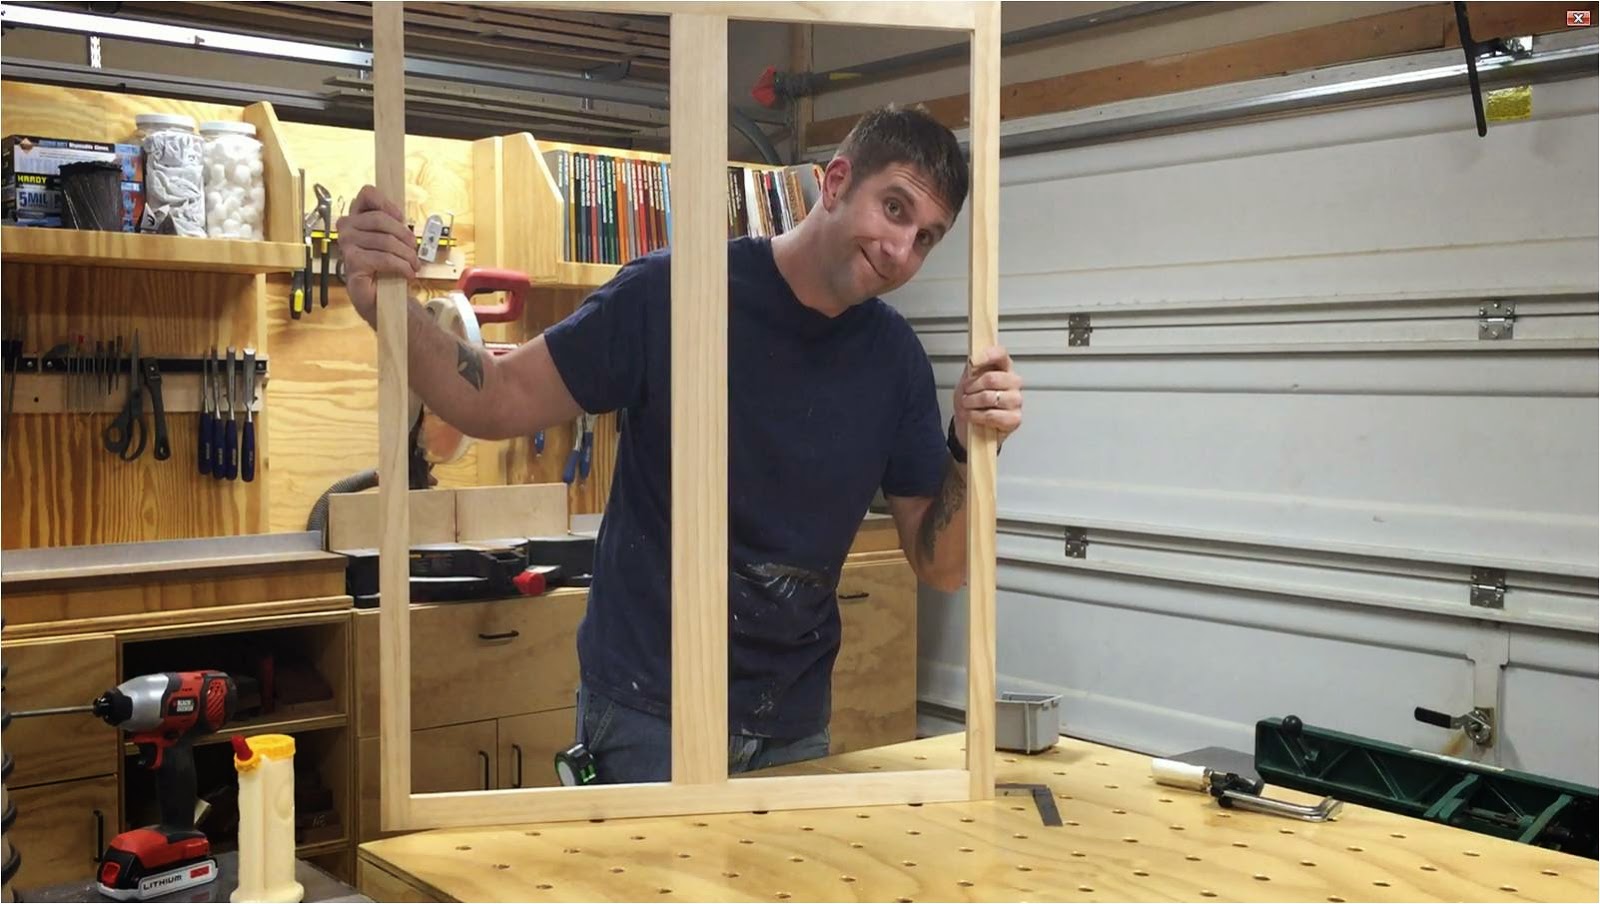
For the construction of the cabinets I start off by building the face frames. I find that it is easier to build the face frame to the exact measurement to fit the space and then build the box of the cabinet to fit the face frame. Now even though I am building three cabinets I will construct them separately and then attach them together when I install them on the wall.
The first thing to do was to start ripping down the stock for the face frame. The stiles and bottom rail are going to be made from 1 1/2 inch wide pieces and the top rail and center stile is going to be made from 3 inch material.
It's important to keep track of how many of each width and length you need so you don't end up short a part or two when it comes to assembly. Once all the cuts are made I take them over to my multipurpose table to start drilling pocket holes in the parts.
This is another step in the process that it is good to separate the parts that don't get pocket holes so they don't accidentally end up with some. There is multiple methods of joinery to put face frames together and very passionate supporters of each. But I personally aren't emotionally attached to any of them. If it works for that application then so be it. I will admit that I am a fan of the pocket hole.
I then go into assembling the frames. It is important to make sure that they are square since this will be the most visible part of the cabinet and the doors that will eventually get made from the door will reference from the openings made by the face frame. I have 3/4 inch dog holes in the top of my multipurpose bench that allows me to clamp things directly to the work surface.
Once all the face frames are built it is time to start cutting down the parts for the boxes of the cabinets. The sides, top, bottom, and back are all going to be 3/4 inch plywood but I am going to wait to cut the back pieces till the boxes are assembled. This is just to make sure that they have a good tight fit.
Now even though I have a table saw in my shop I set up a work surface in my driveway for cutting down full sheets of plywood. I just find that this is not only safer but in the end I get more accurate cuts. For some reason every time I would try and wrestle a full sheet of plywood onto my tablesaw I would mess up the cut. I set a couple saw horses down and put a spare sheet of 3/4 inch plywood down and then set a 2 inch piece of insulation foam on top. This way I can set the depth of my blade to barely cut through the work piece and the foam fully supports it.
Once all the sheet goods are cut down into manageable sizes it is back to the shop to cut them to final dimension on the tablesaw.
To cut the panels down to length I use a crosscut sled on my tablesaw. This is the safest and most accurate way I have found to cut wide panels.
To fit the back panels in the cabinets I am using a Dado stack in my tablesaw and cutting a 3/4 inch dade that will be a 1/2 deep.
Then it's back to the Kreg pocket hole jig to make some more pocket holes. Again there is plenty of different methods of joining panels together but since the sides, top, and bottoms won't be visible I think this is a great option of joinery for cabinets.
Again it is important to organize your work pieces by which parts get what holes. The tops and bottoms get holes along the sides to attach the box together and holes along the front to attach the face frames. The side panels only get hopes along the front.
To assemble the boxes I clamp the two pieces together using Rocklers Clamp-It Jig. This just makes aligning the parts easy and gives me another surface to clamp to and a good 90 degree reference. Once all four sides are attached I give everything a good sanding and then measure the backs so I can cut and install them.
Once all the backs are cut and installed its time to attach the face frames. Since I am using pocket holes to attache the face frames I just have to center the frame on the box allowing for a 1/4 overhang on the bottom and both sides.
With the face frames attached all I had to do was to mount them on the wall, drill some holes for the shelf pins and paint them. I also put some crown molding up along the ceiling to dress them up a little. Here is the finished product.
Hopefully I will have time in the next week or so to build the doors for the cabinets. But until then I have added the video of the build for your viewing pleasure. Thanks for taking the time to stop by and I hope to hear from you soon.
Don't be shy either... like, leave a comment, and subscribe!!!