Thursday, February 12, 2015

Intersecting Box Shelf

An intersecting box shelf is a simple but elegant way to display items in your home or business. As many other projects the ability to customize it makes it very appealing. I worked with the client who commissioned the project on the design, joinery, and wood selection. We decided to use Sapele as the primary wood with Walnut splines in the miter joints. It's important to keep in mind the location that the project is going. In this case the client had a specific wall that it would be hung on so available space and other features like matching the angle of the cathedral ceilings were important. As with most of my projects the first thing I did was to draw in up in SketchUp to get the dimensions and proportions down.
Shelf SketchUp
The lumber was purchased from Steve Wall Lumber in Mayodan, NC. It is about a two and a half hour drive for me but I haven't found anywhere closer that has the quality and prices that they have. I only charge customers for the lumber used in a project but always estimate on the high side when purchasing. This way I won't have to make another long trip if I mess up a part. Once I got the lumber back to my shop I let it acclimate for about a week before starting to mill it up.... MORE

Thursday, February 5, 2015

Time to upgrade a bit

Most of the time I seem to be organizing or improving my shop in some way. So much so that I think I probably spend a good amount of available shop time doing that. Now I have found that when I am working on an actually project that isn't related to that I find I am more efficient because of a neat and organized shop. As some of you might now I have started making videos when I can of projects I am making. At first it was just to share with the rest of the woodworking community what I had going on in my shop. It has since since morphed into not just showing what I was doing but how I was doing it and turned into Woodshop Confessions. I love the fact that there is an increasing amount of free woodworking content out there for everyone. If fact if you ask my wife, I'm either cleaning or organizing my shop, watching woodworking videos on YouTube, or a combination of them both. 
IMG_2738
In order to try and improve the quality of Woodshop Confessions I decided that I should do some upgrades. I found three areas that I believe that I can make some improvements on the production side of my YouTube Channel and those are video, audio, and editing. Well four if you count me getting more comfortable with being in front of a camera. 
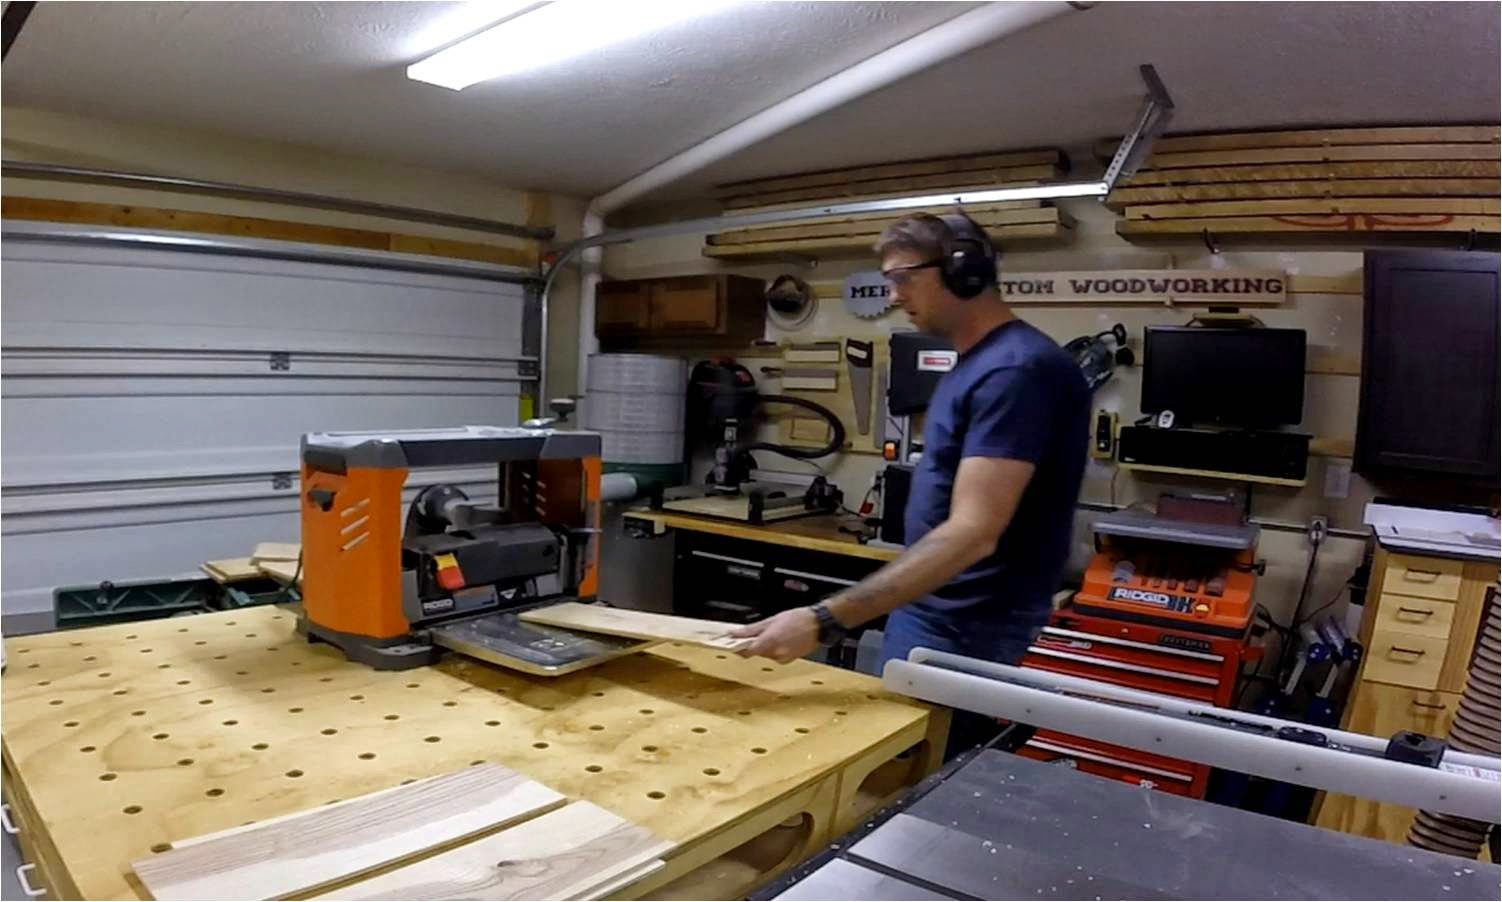
The first of these categories was video. I started off using my Iphone to record the video and although the quality was not bad at all, I quickly discovered that available memory was an issue. This couple be partly because I had the 16GB Iphone and with all the cool apps that I have I didn't leave much memory. I would have to do a little recording and then go inside to dump the video on the computer and then run back into the shop for some more. To fix this I purchased the GoPro Hero3 since it was on sale because of the release of the Hero4. This really help make things a lot easier since with the current SD card I have in there I can film in HD for over two hours. 
photo-1024x768
The next two improvements I'm asking for your help in making. I have started a 
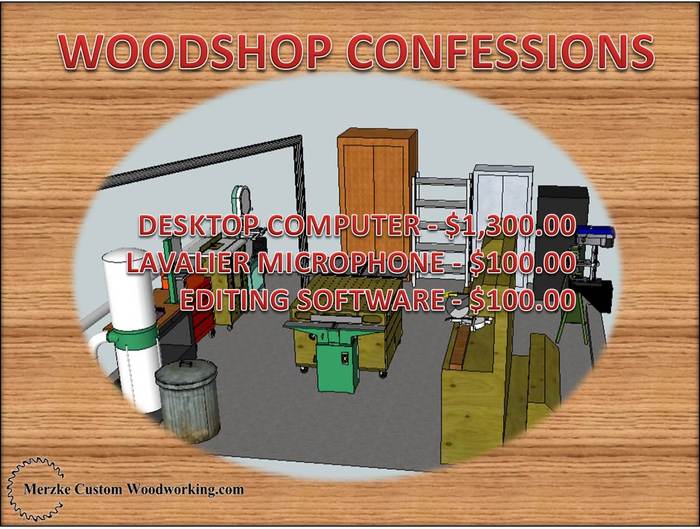
Kickstarter Campaign to raise some money to upgrade my audio and editing equipment. I would really appreciate your support either by way of pledging your support or just by sharing this post or the link to my Kickstarter page (https://www.kickstarter.com/projects/706728814/new-editing-and-audio-equipment-for-woodshop-confe). I have added a few rewards for pledges of donations. If we successfully reach our goal of $1500 by the allotted time I will use those funds to purchase the equipment needed to increase the audio and editing capabilities. I'm sure this won't fix my looks or the stumbling and mumbling I do on camera... but we can hope!
5c73801fae127311cf371b875fbe246c_large
Thank you very much for taking the time to join me. If you have not seen Woodshop Confessions before than I encourage you to swing by and check out some of the videos I have posted. There are links to all my social media sites on www.merzkecustomwoodworking.com

Tuesday, January 20, 2015

New home!

Somehow it all came together has found a new home. For all the past and future projects and much much more head over to http://merzkecustomwoodworking.com . I look forward to hearing from you!

Friday, January 2, 2015

Pallet Wood Wine Box

A perfect gift for the wine lover in your life. Give this custom made wine box as a birthday present or as a gift for the host of dinner or holiday party. Here I will show you how I make them out of planks from a pallet. You can substituted pallet wood with any other board and all the measurements should be adjusted to fit the wine bottle you intend to put in it. To cushion the bottle while it is in the box, I use wood shavings but there are also many materials that you could use. The tools I use for this project is a table saw, router table, miter saw, thickness planer, random orbital sander, and brad nail gun. As there is many different way to accomplish the same task in woodworking I am just showing you one way to do it. 
The basic construction of the box is simple. The sides are glued and brad nailed together. The bottom panel of the box is glued in to a dado that has been routed in the all four sides. The top slides into another set of dados routed into the top of the sides. The Sketch up file for this project can be found and downloaded for free at www.merzkecustomwoodworking.com
The boards I have are 5 1/2 inches by 39 inches. Since these boards came from a pallet there are nail holes at the ends and middle of the boards so I plan the layout to avoid these nail holes.
At first I just cut the boards down to rough length. I will cut them down to final size later to make sure they fit perfectly. Basically I am cutting off the ends and the center section where nail holes were. Once I have all the boards cut down I take them over to my thickness planer where I plane them to 1/4 inch.
Now take all four side pieces and the top and bottom to the table saw and first cut the the rough edge off the board and then rip them all to an width. For my wine boxes I rip the sides to 5 1/2 inches and the top and bottom to 5 inches.
I then take them back to the miter saw where I cut them to their final length. The long side boards get cut to 16 inches and the short sides get cut to 4 1/2 inches.
To make the dados for the top and bottom panel to fit I set up a 1/4 inch straight cutting bit in my router table at a depth of a 1/4 inch. Both short end sides get a 1/4 inch dado that is 1/4 inch from the edge. The longer side pieces will get a stopped dado on the bottom edge and a dado that is stopped on one end and through on the other end to allow for the top to slide on and off.
Take one of the short end pieces and cut off the 1/4 strip above the dado and save. This small piece will be glued on the top to act as a handle and to maintain the original lines of the box.
It's finally time to build a box. Make sure to apply enough wood glue to each of the joints. I use brad nails to help hold it while the glue dries. Even with butt joints the box is plenty strong enough because of the long grain glue joints between the bottom panel and the sides.
Slide the top panel into the dado in the box and then mark where you need to cut it to length. I then take the top panel to the miter saw and cut it. Then I take the small piece that I cut off the short side panel and glue that on as a pull.
And now to everyone's favorite part of a projects... SANDING!!!! Here I just do a light sanding. I don't want to take the wood down all the way since I want a rustic look. I also slightly sand the edges just to brake the sharp edge. It is also a good idea to slide the top panel on and sand the end flush while it is in the closed position.
At this point you can decorate the box like I did with a ink jet printer photo transfer and then apply some spray lacquer or come up with your own method of decorating and finishing the box. If you really want to get crazy you can just leave it unfinished. Either way your finished at this point!

I hope this tutorial has helped and I would love to see what you come up with for yours!