Saturday, November 29, 2014

Pallet Headboard

My daughter recently moved in with me and we realized that her room needed some upgrades. The first being getting her a full sized mattress. Then Sterling Davis over at Sterling's Woodcrafts posted a video to announce the Pallet Up Cycle Challenge 2014. Since I've never made anything with pallet wood I thought this would be a great opportunity. A few short minutes on Pinterest and we had found a couple ideas for headboards made from pallets. I just on my trusty PC and started drawing up a SketchUp model to fit her bed size.
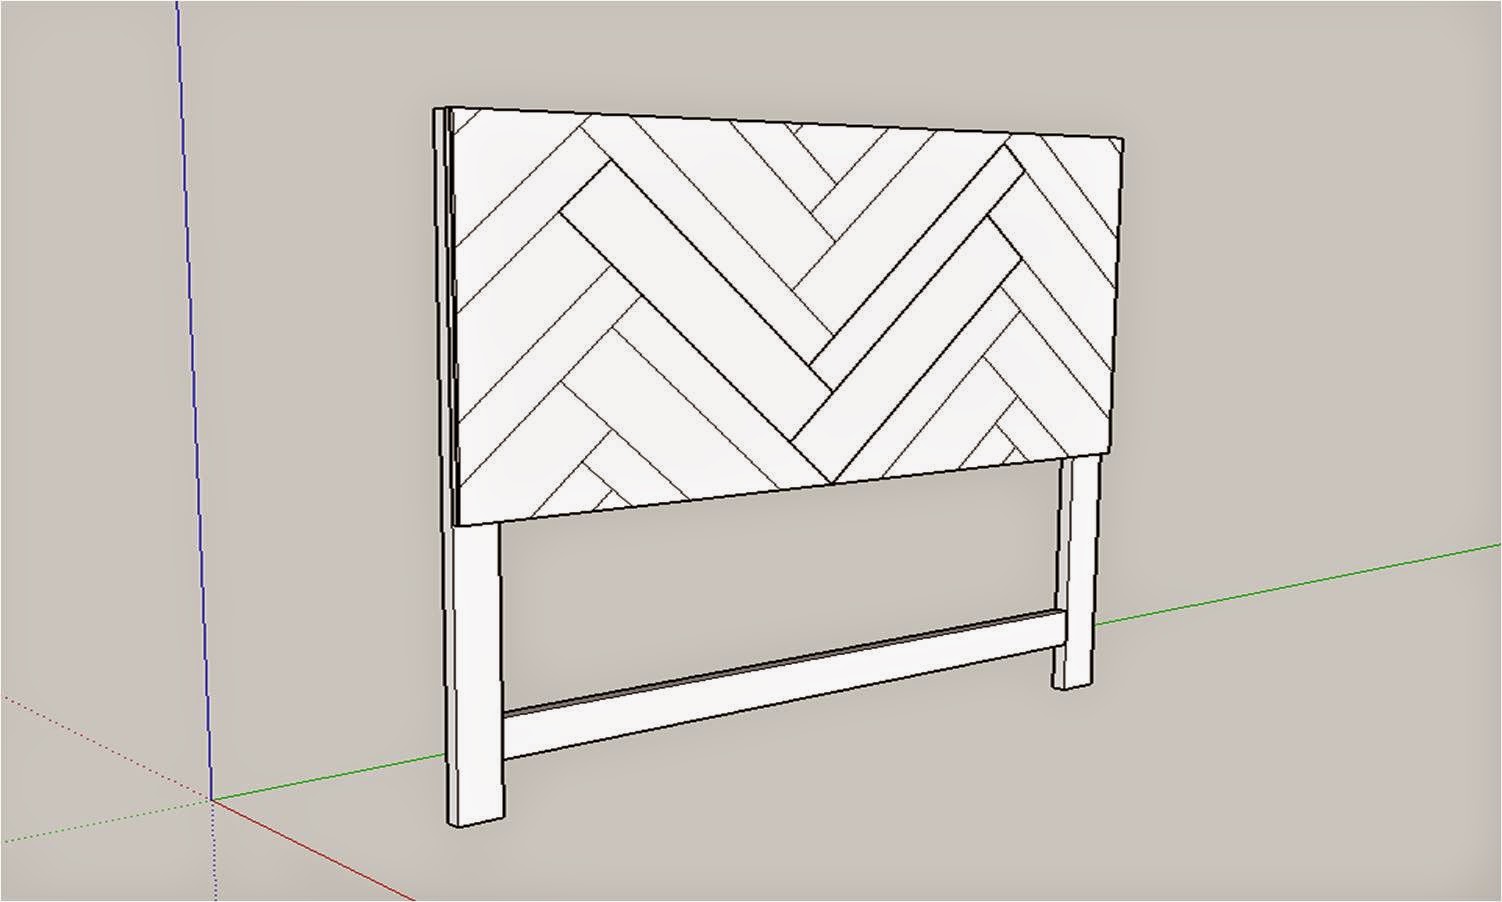
The construction of this headboard is fairly simple. The wider boards that act as joists on a pallet would be used for both the main frame and also as an external decorative frame to finish it off. The frame for this bed would be 48 inches tall and 54 inches wide. Again, this is for a full sized mattress but you could easily adjust the dimensions to fit any size of mattress. 
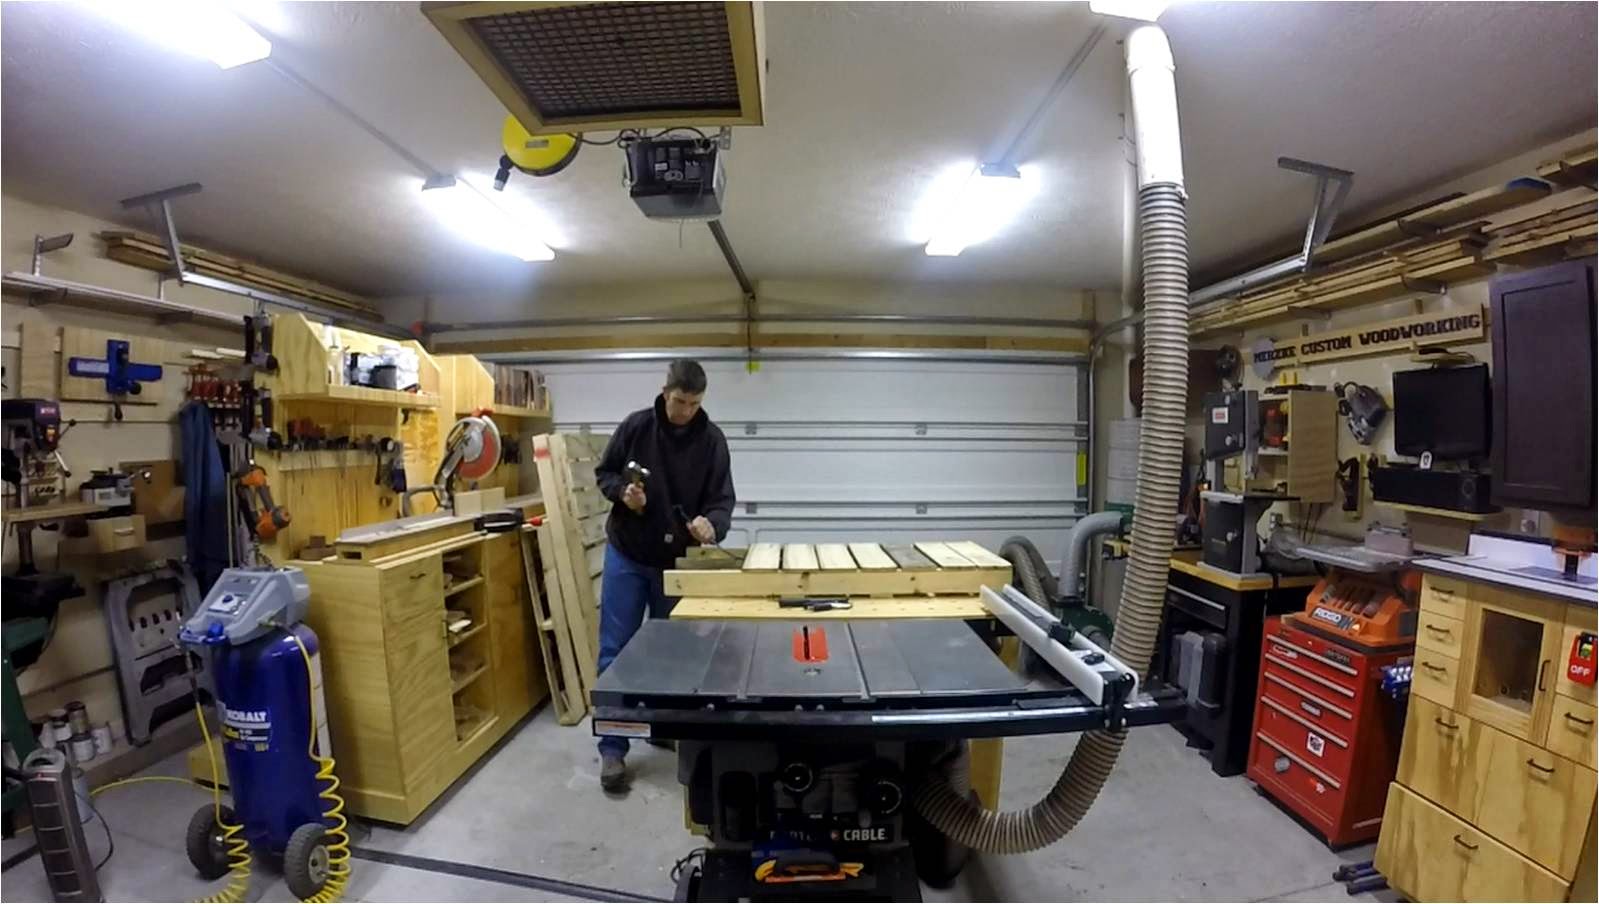
Before we get ahead of ourselves we have to break apart some pallets. I found some really nice pallets that had longer joists and slats that were in pretty good shape. Now keep in mind this was my first attempt at a pallet project so there was a little learning curve to take them apart without making a complete mess and destroying the wood. 
My wife had suggested I cut off the ends of the slats to ease taking the pallets apart since most of the ends were already so tore up I wouldn't be able to use them. This worked out perfectly and really sped things up.When I got them all done I had a good amount of usable wood (and a little firewood).
Now it was time to start building. I used the long wide pieces to build the frame. The vertical styles were cut to 45 inches. Once both were cut I measured them laying together so I could subtract that measurement from 54 inches so I would have the exact width I needed without having to rip the boards down. I did this for a couple reasons but the main one was so that I didn't have to run a board that might still have nails in it through my table saw and risk damaging the blade.
The joinery I used was simple butt joints secured by pocket screws using Kregs K5 Pocket Hole Jig. These pocket holes won't be visible once the headboard is all together. I drill two pocket holes at either ends of the three horizontal rails.
Then it I just attached the frame pieces together making sure to check for square and I attached each joint. Having a flat work surface that you can clamp your work pieces really helps for projects like this. 
The next step was to cut a 27 x 54 inch piece of half inch plywood to act as a backing so I could glue and nail the slats to. My table saw only has a 26 inch rip capacity so I had to rip it into a 25 inch and then a 2 inch piece. This isn't an issue since the slats will be hiding these pieces here shortly.
Once the plywood was cut to dimension I just glued and then nailed it to the frame. I used 18 gauge brad nails but you could using nails or screw since this will be covered by the slats.
Now its time to start ripping the slats. The chevron pattern I made will need five inch and 3 inch slats. I rip one clean side to the slat and then flip it and rip it to its final width to have both edges clean and parallel. 
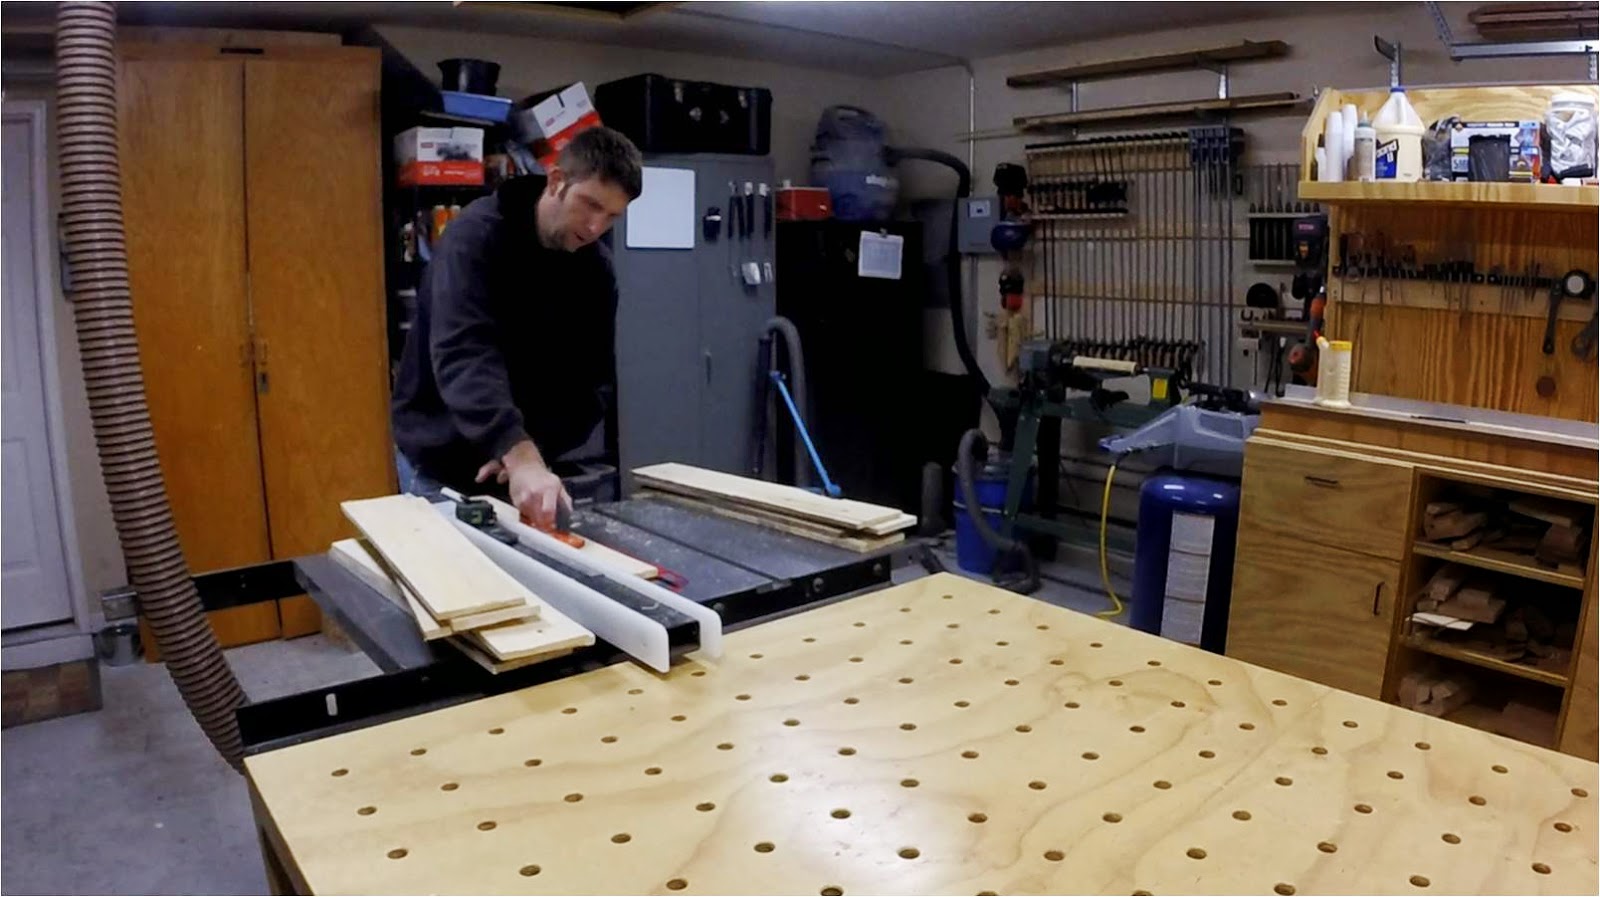
 With all the slats cut to width I took them over to the miter saw to cut them to length. I tried to cut them all to 24 inches since this was going to be the longest part used to make the chevron. Because some of the ends were a little tore up and others had other messed up sections I had to cut them shorter. This isn't an issue since some of the pieces will end up getting cut down later.
To begin laying out the pattern I find and then mark the center of the headboard and also mark a 90 degree V. This will be the starting point to starting laying out the pieces. The slats get glued and then nailed to the plywood. 
From there its just alternating rows between the 5 inch and 3 inch slats to make the pattern. The pattern possibilities are really just about endless. I altered the widths just to add to the visual design of the headboard.
 I used my bandsaw to cut the slats down to rough size before I glued and nailed them. Once all the slats were down I used a belt sander and then a orbital sander to clean up the slats and even them off a little. I think if I was going to do this again I would have ran the slats through my thickness planer. Once it was sanded to my liking I took a flush trim bit in my router and then cleaned up the edges.
The final steps of the build is to measure two 45 inch boards for the sides to frame out the headboard. Then after gluing and nailing them to the sides I took a measurement of the overall width and then cut another board to be the top section of the frame. I used my finishing nail gun for these pieces since they were thicker than the slats. 
To finish off the headboard I used two coats of a water based polyurethane and sanded it lightly between each coats. I chose the water based poly because I wanted a little protection but didn't want the yellowing that you get with normal polyurethane. I would have preferred to spray on the finish but because of the weather I chose to go with a brush on application.
Here it is with both coats of poly. I really like how it maintained some of it's rustic look without looking to "rustic". 
Once the poly was dry I carried it up to my daughters room. To attach the headboard to the metal frame I used 8 small bolts with washers and nuts.  
My daughter really likes how her headboard came out. She has now also requested a matching nightstand. I guess that will be an upcoming project. Here is the video I made of the build. I hope you enjoy it and if you want a free copy of the SketchUp you can find it at www.merzkecustomwoodworking.com


Thursday, November 20, 2014

Woodworking and Our Global Economy

I'm not sure if it's everywhere, but you hear the debate going on here in America from time to time about things being manufactured locally. Automobiles and motorcycles seem to be the big items everyone wants to  chime in about. But then the other 90% of their money goes to other countries. Now, I'm not saying anything against a global trade, as long as it is equitable, but let's be even across the board. So what's this have to do with woodworking you ask...well, I think it has a lot to do with it. Why does a company outsource labor and manufacturing to another country? I would argue that taxes and cheaper labor and material prices were right up there at the top of the list. Everyone is always in an uproar about jobs moving overseas but then their spending habits support these actions. This continued behavior I think has programmed people to accept lower quality products for a lower price point. Now, in this great modern world of manufacturing, these companies are able to produce products that look like the real thing...that is, until you have to replace it a couple years later. I am mainly talking about furniture made of glued together sawdust that you have to assemble out of the box, but also about other handcrafted items.
I read a post online the other day that really got me thinking about this. A friend of mine posted on social media about people expecting basically to get something for close to nothing because it was a handmade item. When did we start to devalue an item's worth because it was made in someone's home or garage? Of course no one wants to pay more than they have to for something. I love a deal just as much as the next guy or gal; but at some point we have to put our money where our mouth is.

So I think there are two sides to this issue. The first is from the standpoint of the maker. This can be the small family operated cabinet shop, the stay at home mom who sells items she sews, or someone like me that, when time permits, takes on small commission jobs. It doesn't take a large neon sign or a fancy piece of paper in a ornate frame to make someone a professional. I have seen plenty of highly skilled artisans that fall into the above-mentioned categories. Unfortunately, I've also seen people who title themselves as professionals who provided shoddy--at best--products or services. So if you're a maker or someone who provides a service then don't undervalue what you provide. You owe it not only to yourself but the other people that provide similar products or services to price your work appropriately.

Now the other side is that of the consumer. If you are looking for an item and you want a quality handmade item then be prepared to pay the appropriate price for that item or service. If you love IKEA than please feel free to continue to purchase your wares there. But don't get upset when you inquire about a hand made item and the price is considerably higher than what is sitting in a box at Walmart.

One thing I try to do with clients is working with them to see if there are options to get them the product they are looking for, within their budget. Sometimes there is a way to still make a quality piece of furniture but use different species of woods and then stain or dye them get the look they are going for. But there will also be times when there is no way for both the producer and the consumer to meet on common ground and that is perfectly okay also. So where do you stand either as a maker or a consumer? Or as both? I try to buy local when possible, but I also believe in paying for quality work or services but not for substandard quality based purely on them being the "little guy" in this big global economy.

Thursday, November 6, 2014

Is it that time of year again already?

It's crazy how it just seemed like yesterday I was dragging out the Christmas Tree to dispose of it. Now all of a sudden I'm starting to see stores starting to put up their Christmas and Holiday wares. I even heard rumor that a few households had already put up their Christmas Tree. I'm with Charlie Brown on this one that we have completely commercialized a perfectly good Holiday. Now I'm not here to debate which if any "Holiday" you celebrate or don't celebrate... or even how you celebrate said holiday. But if you do, then this might be the time to start preparing. I think there is something we all can do to still get our Holiday fix and maybe, just maybe make it a little less about the commercialization (unless you own a foreign manufacturing plant that exploits underpaid workers). Now the entire Internet is full of ideas, but here is a couple things I've done or found that other people have done to create decorations either for your house or as gifts for the Holidays.

The first is a recent video released by Sterling Davis who is a fellow North Carolina resident. I was able to meet Sterling at Woodworking in America this year. He builds a replica Rudolf the Red Nosed Reindeer of one he built for his Mother when he was in High School (a few years ago).
The next is a Christmas Wreath idea that my wife asked me to make the frame for. I used some some pine 1x2 stock and then cut 22 1/2 degree miters to make an octagon and then glued and screwed with pocket holes. 
Then Kelly stapled some of the clipping off of our Christmas Tree to make a fresh Christmas Wreath. This made a beautiful wreath that could be reused and customized each and every year (or each season for that matter).
Christmas ornaments are another decoration that can easily be made and also past down from generation to generation. We have become a society where everything is bought new and then discarded to make room for the next new hotness. Alan Stratton at As Wood Turns and Carl Jacobson at the Woodshop TV put on a Christmas Ornament Woodturning Challenge every year. This is not only a great way to make a family heirloom but also put a personal touch to the holidays. Here is this years Challenge video which also contains the link to this years playlist. There is still plenty of time to join in on the fun!
This is the first year that I participated in the challenge and hopefully over time I can add some of my own creations to our Christmas Tree.
Here is a video of a Christmas Tree decoration that Steve Carmichael made last year. Steve is an amazing woodworker that has a bunch of great project ideas. I was also able to meet Steve this year at WIA (Woodworking in America). This is a fun looking project that I would also like to make sometime. 
I could go on for days about different online resources and ideas available. They don't all have to be woodworking related either (even if I kind of gravitate that way). I guess what I'm trying to say is that in a global world of manufacturing and commercialization (if this is even a word), go out and make something to decorate your house or to give as a gift for someone special to you this year. Even if it is just one small thing you will be surprised what a difference it makes. Hey and if your totally against the idea of making something yourself... go buy something hand made from someone in your local area. Not only does this help out small businesses but still gives you a meaningful item that wasn't formed of plastic by mindless robots or assembled in a country that still uses child labor. Most communities have holiday fairs or craft shows which is a great place to find or sell gifts and decorations. I hope this gives you some ideas or incentive to go be creative. I'd love to hear what are your plans for Christmas decorations and gifts this year?