Ok, so maybe a little more went into it than that. Like I've said before the design of the top was taken from the plans of the Ultimate Workbench by Ron Paulk. The design went through several versions as I moved and shifted things around in SketchUp.
The table was to fulfill several tasks. First it would serve as a outfeed table for my tablesaw. I wanted the table to be 4' x 4' and be just low enough so that anything I ran in the miter slots of my tablesaw would just barely pass over it. I know most people make channels in their table for that very purpose but I felt it would cause issues in the other two tasks this table needed to handle. The second would be to serve as an assembly table. I have limited horizontal surfaces to put together my projects so I wanted a dead flat table. This was the first, thing I liked about Ron's design. The last torsion box table top I had built was so heavy it eventually caused the whole thing to sag from the weight. With the cut outs in all the cross sections and the holes on top the table, it cut the weight while still providing support to keep it flat. The cut outs and holes also come in handy for other reasons as well. I know have the ability to clamp material from either the top or the sides of the table.
The other task that I needed this baby to handle is storage. Not only for odds and ends but also a couple tools. The thickness planer was my first priority. Since I only use it to mill up my lumber I figured I could save some space in the shop and have it put away but at the same time easily accessible. So one side I designed with pull out trays.
I used 24" full extension drawer slides for this side of the table to allow full access to any tools I store here. The other side of the table I put 5 drawers. These drawers are on 18" full extension drawer slides.
Now let's go back to the beginning and talk construction. I built the entire table from 3/4" Pine Plywood (Well, all except the drawer bottoms). Since total height is an issue I started with the top, then built the base and then the cabinets. But first things first... since it's already a billion degrees here in sunny NC I need some shade.
My sheet goods are first broken down out in the driveway using a track saw. I cut the top first and then began laying out the locations for the holes. Since the table top was four feet square I was able to place the holes four inches apart. A little funny math, carry the one, and then multiplied by the remainder and you end up with 121 intersecting lines. At this point I'm sure your asking yourself... "what does that mean?" Well I'm glad you asked... it means I get to drill one hundred and twenty one 3/4" holes!!! Since I don't have a plunge base for my router I bought a drill guide and using my forstner bit started drilling.
It wasn't long before I realized that battery power wasn't going to cut it for this project. I quickly switched out for a corded drill to bore out the rest.
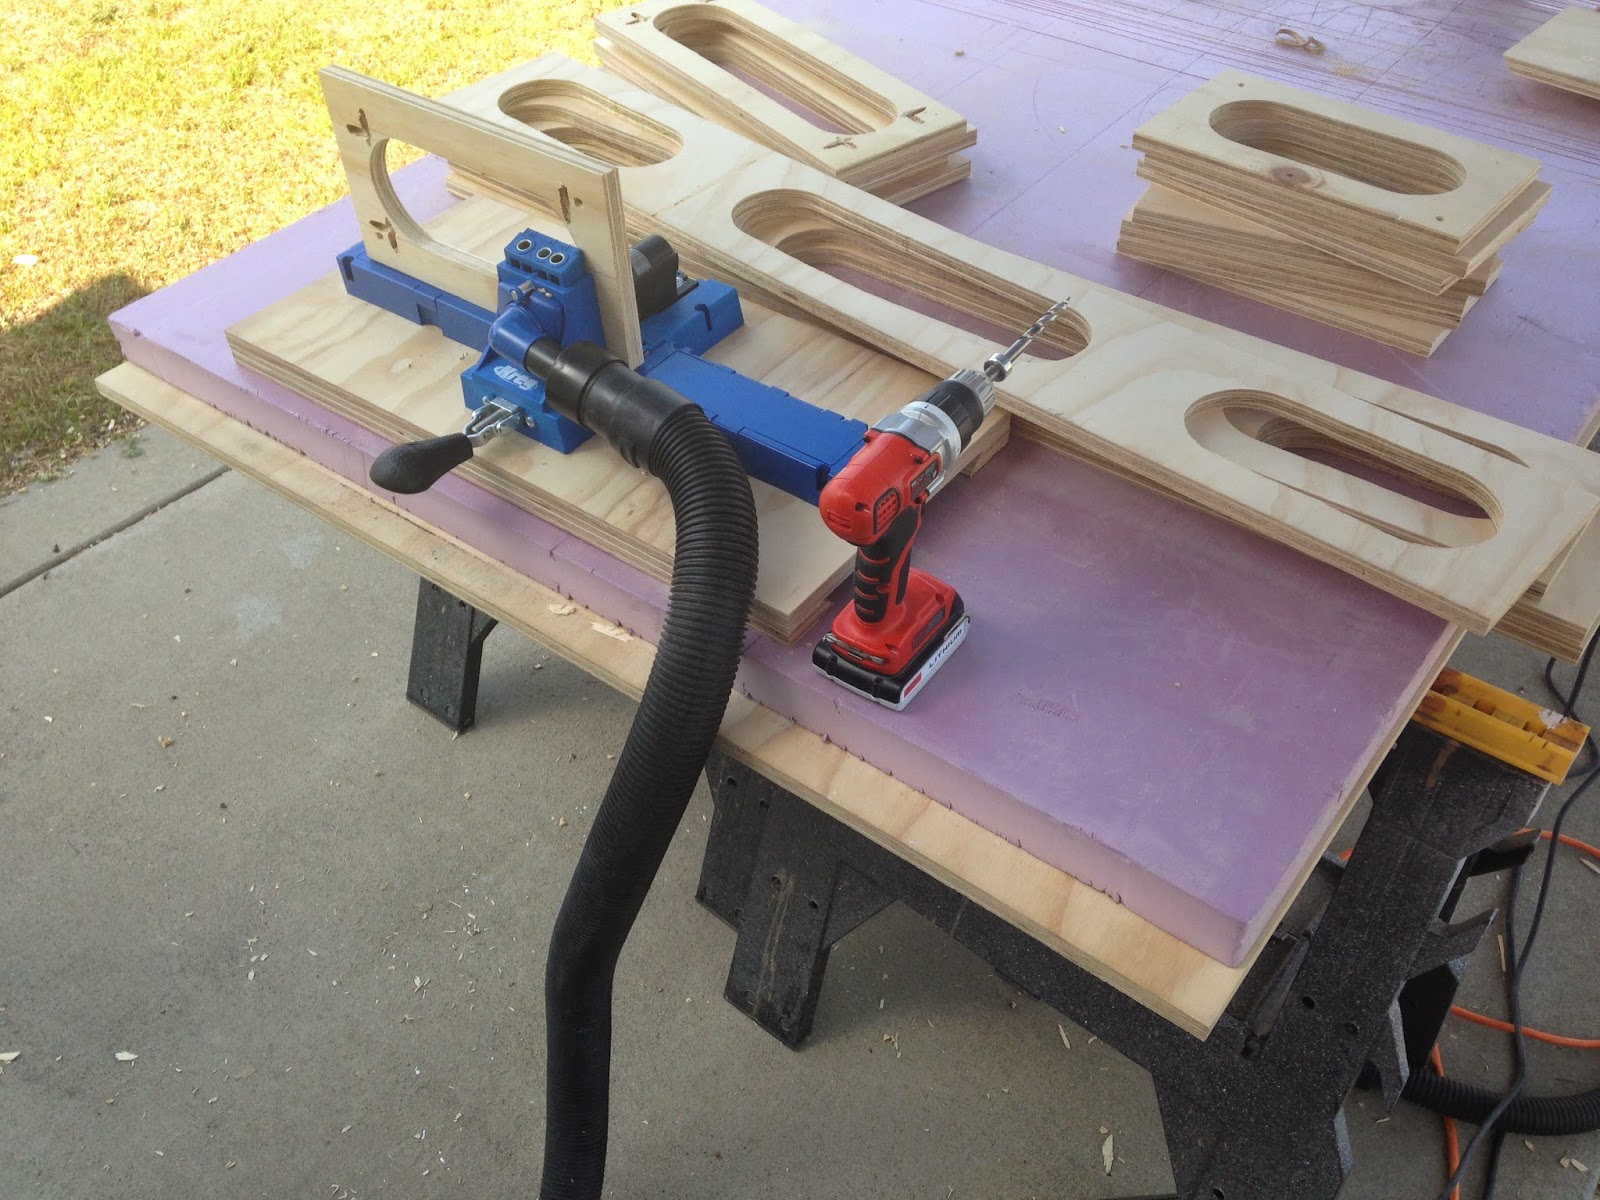
Once I finished all 121 holes I sanded the top and then moved on to the next step. The side sections of the top were cut to size and then a template was made for each of the three sizes. I then used a flush trim bit in my router table and made a big mess... and finished cutting them all out. Once they were all finished it was time for pocket holes.
Now I'm not one for advertising products (sponsor me) but the K5 by Kreg is a pretty amazing tool.
The sides and the top would all be joined together with pocket holes and glue. I had made sure that the cross sections would not cover any of the 121 holes.
Once together I sanded the top and then used a round over bit to smooth all exposed edges to include the 121 holes on the top.
Next I started working on the base. I had purchased 4" casters to allow my dusk collection hose to be able to run underneath the table. The base is two sheets of plywood glued and screwed together with the lockable casters at each corner. Now armed with the two known heights of the base and then top I could measure out the cabinets. My goal was to have the entire table to sit 1/4" under the miter slots on the table saw. Again I used pocket holes and glue to assemble the cabinets.
From there I just secured the top, made five drawers, and finished it with a couple coats of wipe on poly.
Now I'm left with the fun part... trying to figure out where to put everything.
***********************************UPDATE************************************
You can now download the SketchUp file for the workbench from


No comments:
Post a Comment